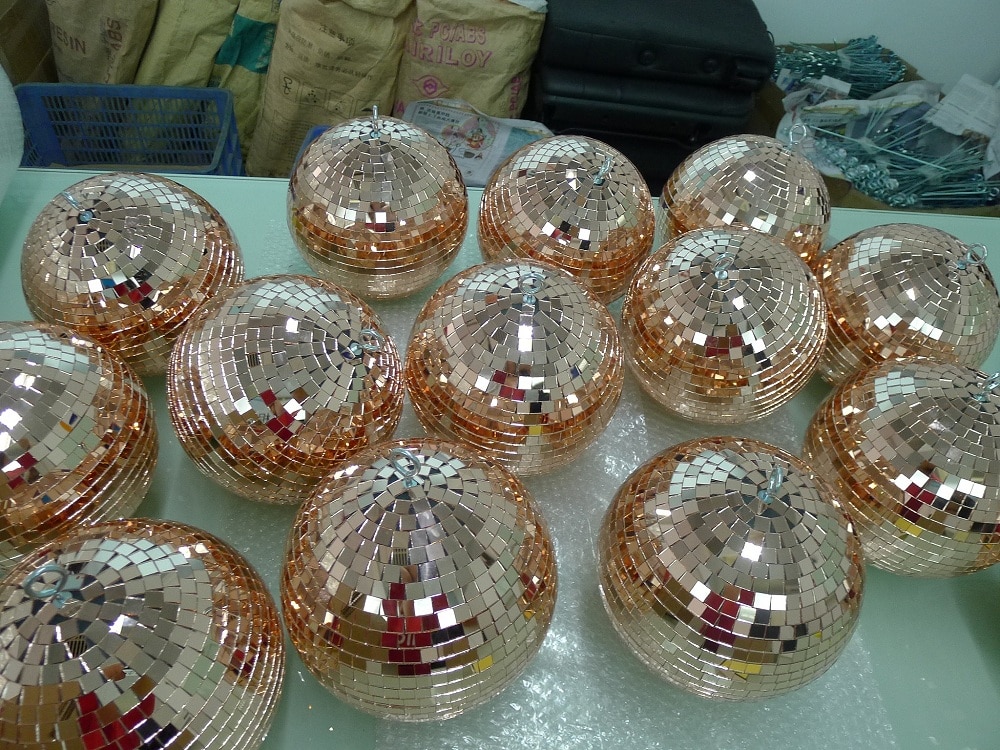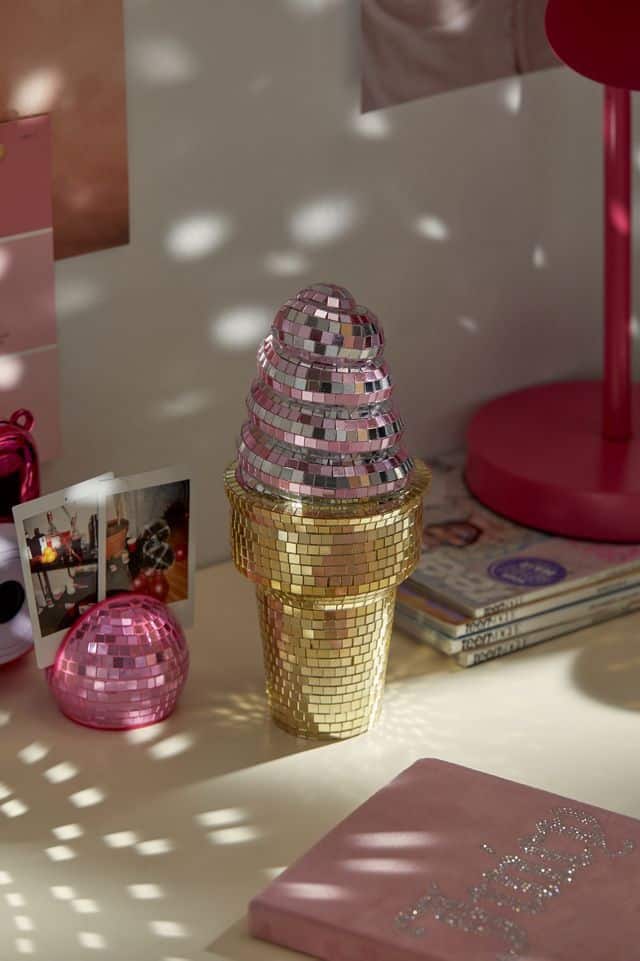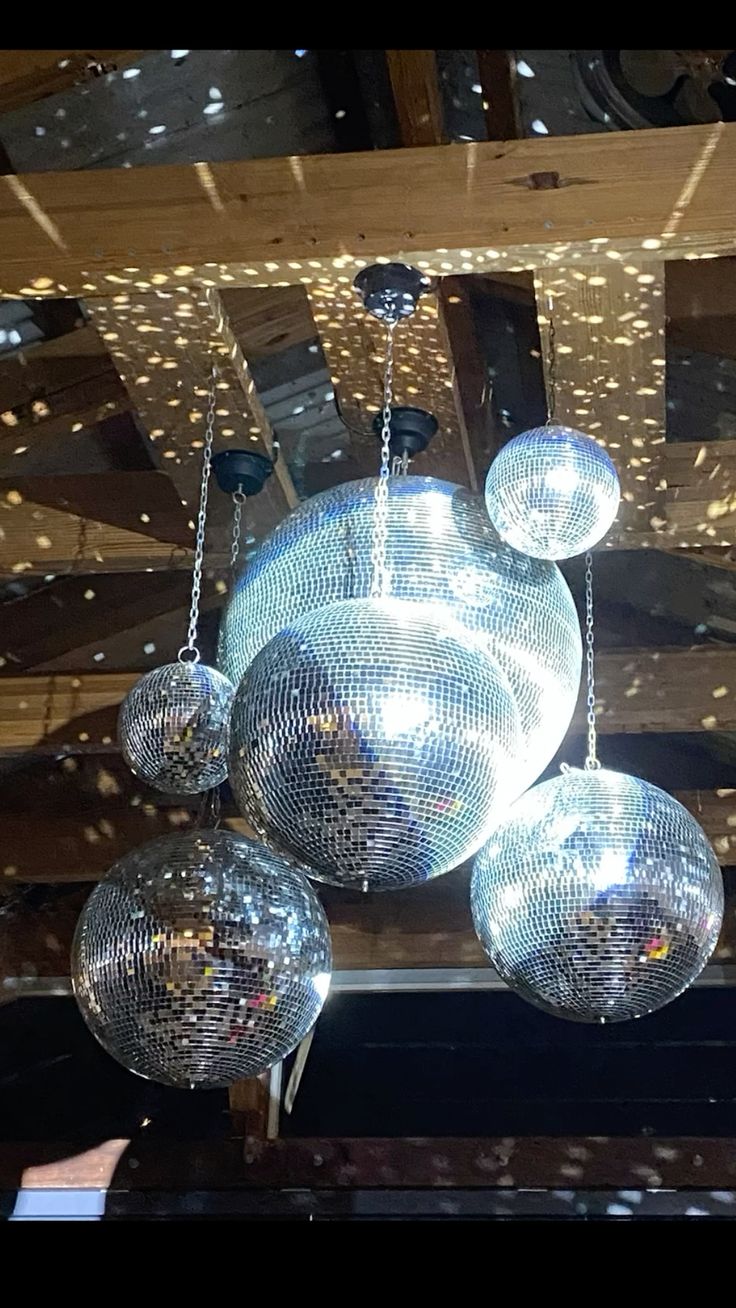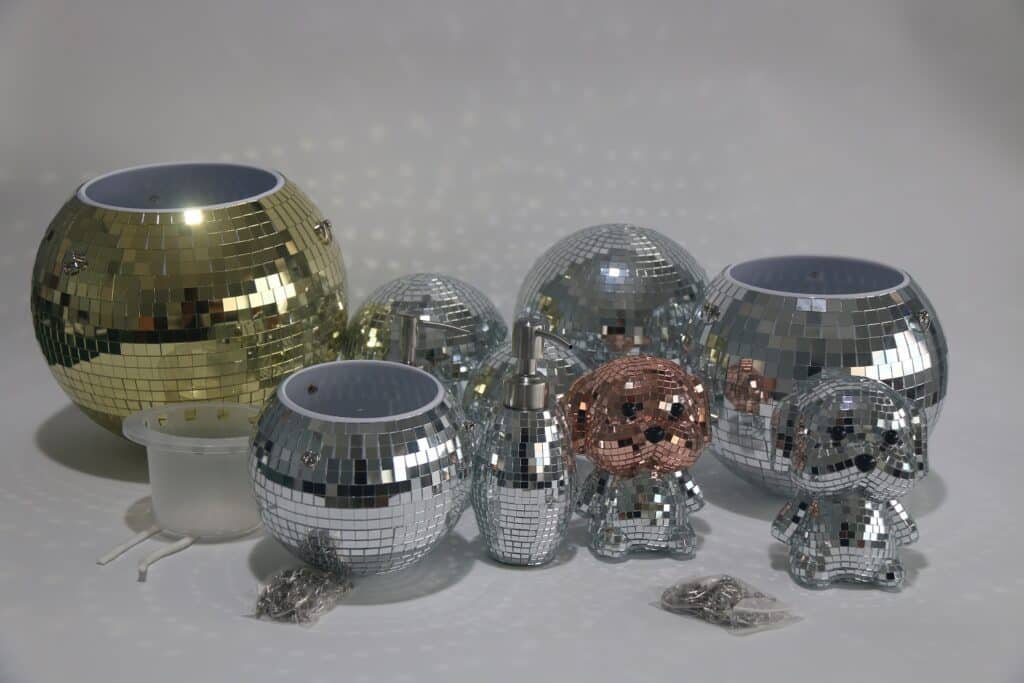
Creating a disco ball from scratch can be a fun and creative DIY project. Here are the general steps to make a disco ball:
Materials You’ll Need:
- Styrofoam or foam ball (size of your choice) or Plastic balls
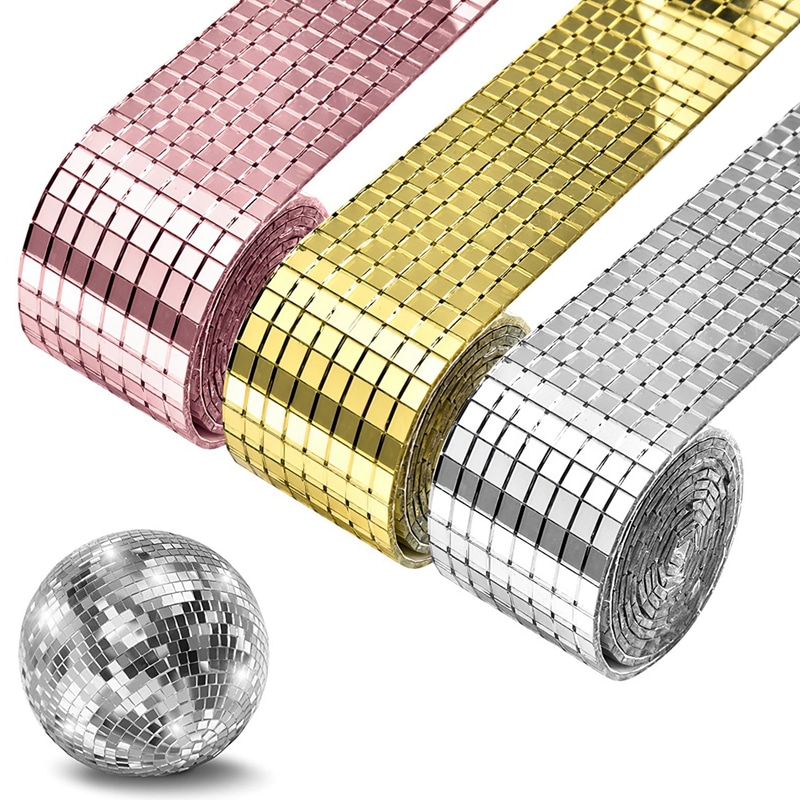
- Small, flat, and lightweight mirror tiles (usually available at craft stores)
- Craft glue or adhesive (strong enough to adhere to both foam and mirrors)
- Ribbon or string (for hanging)
- Craft knife or scissors
- Newspaper or plastic tablecloth (to protect your work surface)
- Disposable gloves (optional, for handling adhesive)
Steps:
- Prepare Your Workspace: Lay down newspaper or a plastic tablecloth to protect your work surface. Working with adhesive can get messy, so it’s essential to have a clean area.
- Attach the Hanging String: Determine where you want to hang your disco ball. Use a craft knife or scissors to create a small hole at the top of the foam ball. Thread a ribbon or string through the hole and tie a knot to create a loop for hanging.
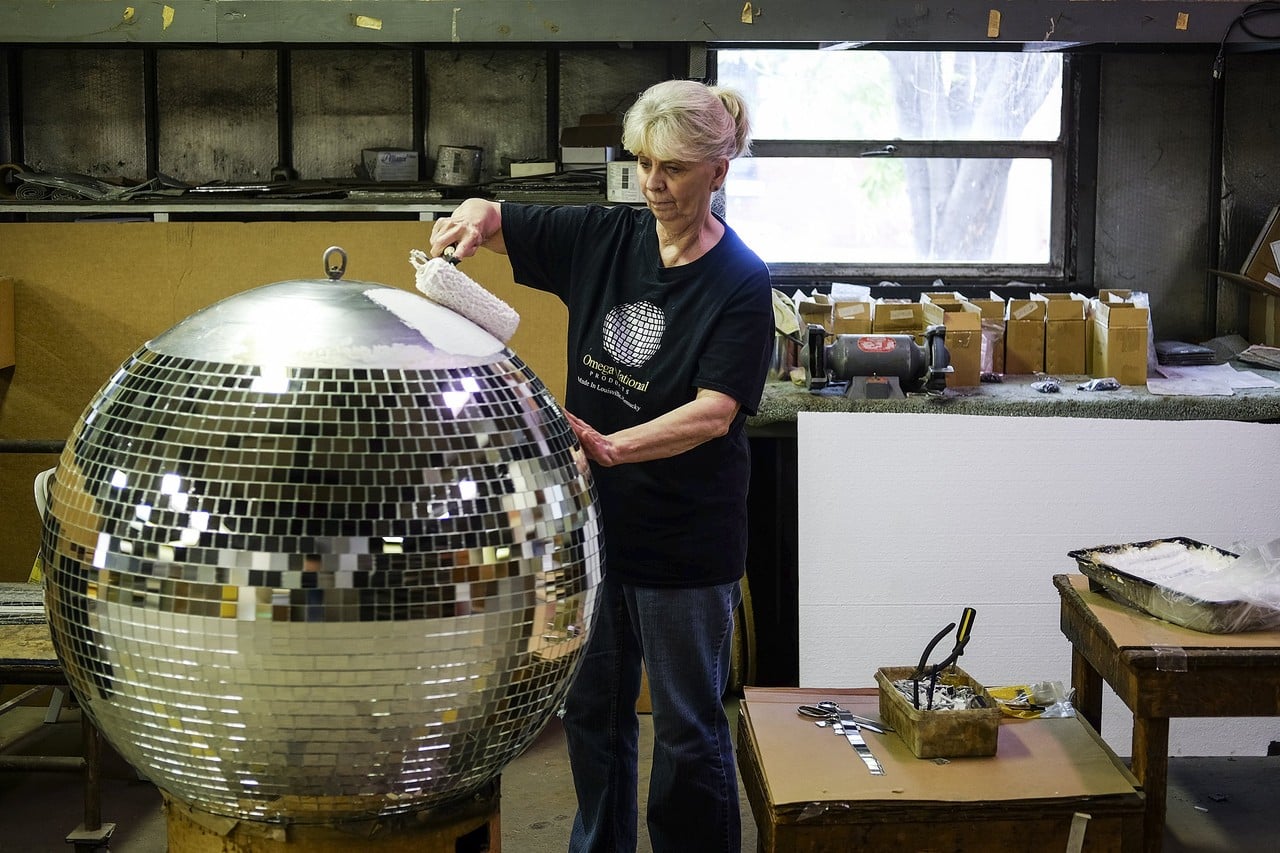
- Begin Gluing Mirrors: Start by applying a small amount of craft glue to the back of a mirror tile. Place the tile onto the foam ball, pressing firmly to ensure it adheres. Repeat this process, leaving a small gap between each mirror tile. The gap is important to ensure the ball remains flexible and doesn’t become too heavy.
- Continue Gluing Tiles: Keep gluing mirror tiles to the foam ball, working in rows or patterns as desired. You can create different patterns or designs with the mirrors. Be patient, as this process can take some time, depending on the size of your disco ball and the number of mirrors.
- Allow to Dry: Once you’ve covered the entire foam ball with mirrors, allow it to dry thoroughly. Follow the adhesive manufacturer’s instructions for drying time. Ensure that the mirrors are securely attached before moving on to the next step.
- Inspect and Touch Up: After the disco ball has dried, inspect it for any loose or unsecured mirrors. Use additional adhesive to reinforce any areas where mirrors may not be firmly attached.
- Hang and Enjoy: Your DIY disco ball is now ready to hang and enjoy! Find a suitable location, and hang it securely using the loop you created earlier.
Remember that the size and complexity of your disco ball can vary based on your preferences and the materials you have available. You can create larger or smaller disco balls using different-sized foam balls and mirror tiles. Additionally, you can customize the appearance of your disco ball with different colors and patterns of mirror tiles for a unique and personalized look.
