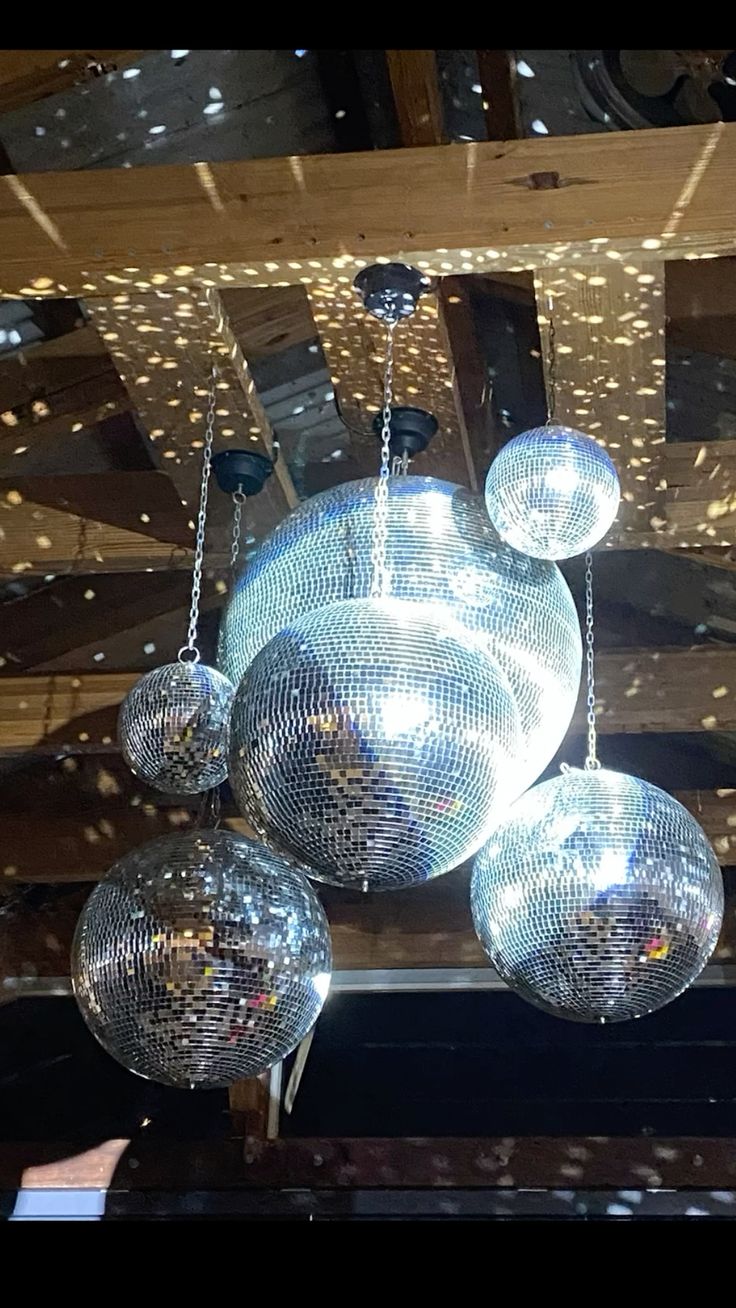
Lightning your space up doesn’t require much, all you need are a few disco balls.
An eccentric atmosphere in your home wouldn’t be a bad idea with disco balls right?
These disco balls have been in use for some time now beginning in the 20th century and have come a long way to be seen in music videos and used as a unique effect.
Also known as glitter balls or mirror balls, disco balls were mostly used as accessories in dance clubs previously; these days, perhaps you’re looking for a unique accessory to elevate your home’s ambience, they can be used as interior decor for your home.
While some have complemented their homes by placing it on coffee tables, on the floor, or on the ceilings of their rooms, whatever it is you are using it for, the glimmering spheres reflect light in all directions and will create the mesmerizing and magical atmosphere you want to achieve.
But if you want to hang yours, hanging a disco ball can be a bit tricky, and getting it right is crucial to achieving the desired outcome.
There are definitely good strategies for hanging disco balls. So how do you go about it?
The Best Ways to Hang Your Disco Balls
These vibrant and stylish balls that can sparkle up any space or occasion require little of your effort to ensure they are safely secured.
Select the right hooks that match your disco ball’s size and weight
Since disco balls come in different measurements from 8 in (20 cm) up to 12 in (30 cm) and we’ve seen those of about 20 in, for a successful installation, you must select the right hooks for the size and weight of your disco balls.
For smaller balls, you can make use of adhesive hooks or swag hooks, while larger balls would require heavy-duty metal hooks, swivel hooks, or ceiling joists to carry the weight of your balls.
Use a Motorized Device
Another perfect choice would be a motorized device. When it comes to hanging the disco ball, the few hooks we’ve listed can be considered but the most common method is using a motorized ball hanger.
A motorized ball hanger doesn’t just securely hold it in place, it gives it a natural spin without the need to manually spin it.
Use Safety Cables for Extra Support
To increase safety, it’s advisable to use safety cables as well to prevent the disco ball from falling in case the hook fails. After securing the disco balls, you can test them by spinning them to see if it doesn’t hit any object or slack in any way.
And there you have it!
Can You Make Your Disco Balls?
In case you’re wondering if that’s possible, it is.
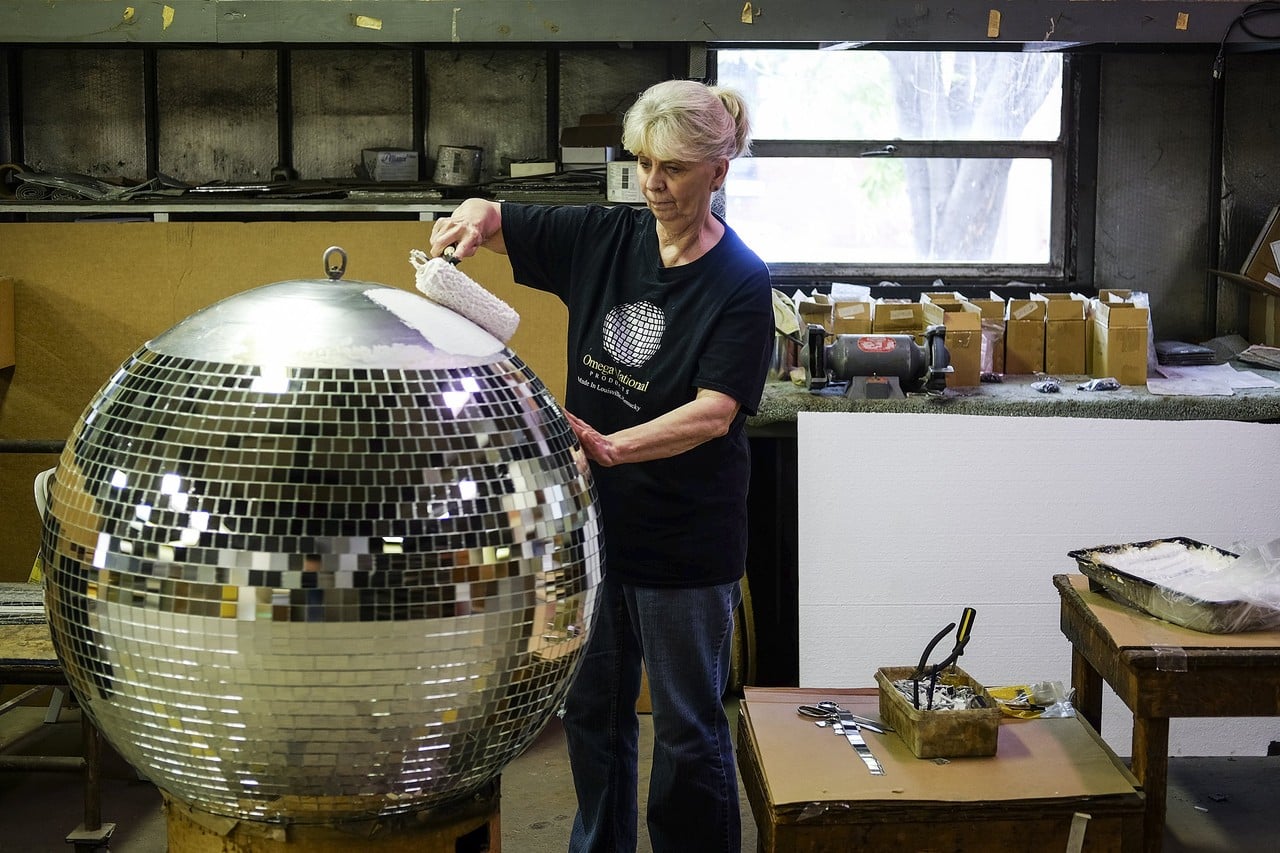
Making your disco ball can be a fun and creative project that can add a personal touch to your decor or event.
A spherical object must be covered in mirror tiles or other reflecting material to achieve the recognisable disco ball appearance.
You need to gather some necessary materials which are your object, glue, scissors, and others.
First, you’ll cover your spherical object which can be a foam ball.
Next, cover the ball. All you need to do is to apply the glue to the surface of the ball, then carefully apply the mirror tiles or other reflective material to completely cover the ball. Make sure that the tiles are evenly spaced and cover the entire surface for maximum reflectivity.
Then, you must allow the glue to dry completely.
Once the ball is completely covered and the glue is dry, attach a string or wire to the top of the ball to hang it.
To make a reliable secure connection, use a wire loop. Make sure the hanging device is firmly fastened to stop the ball from dropping.
And that should do it!
For better guidance, click here to watch our detailed video on how to make a disco ball.
You’re done! Now, you can go ahead and create magic with your disco balls.
Speaking of magic, check out the steps listed here to make the most out of your disco balls.
How to Bring Out the Best of Your Disco Balls
You can bring out the best from your disco balls by doing the following:
Clean and Polish Your Disco Balls
Over time, dust and grime can build up on your disco ball, dulling its shine and reducing its reflective power. To keep your disco ball looking its best, be sure to clean it regularly with a soft cloth and a mixture of warm water and soap. Harsh chemicals should not be used since they may scrape or harm the surface.
Once your disco ball is clean, polish it with a cloth to make it shine.
Just got yours? That’s fine as well.
Try With Various Lighting Setups
You can romanticize your day by setting up your disco balls the right way. This is because the way you set up your disco balls has a huge impact on their overall effect.
Try experimenting with different lighting setups to see what works best for your space and event.
Some options to consider include:
- Coloured lights
- Spotlights
- Moving lights
Hanging Configurations
Your disco ball’s visual style will depend on how you hang it. You can discover the ideal hanging arrangement for your space and occasion by experimenting with various hanging arrangements.
For instance, the disco ball’s height can be changed to produce a varied effect. You can achieve a more thrilling experience by lowering it down toward the dance floor, and a more climactic impression when you lift it higher.
Choose the Right Location
Next, choose the right location for your disco ball. Ideally, it should be placed in the centre of your room or over the dance floor, but it can also be hung in a corner or against a wall. Just make sure it’s visible from all angles and not obstructed by anything. This will give it the nicest visual you are going for.
Now, you’re ready to hang your disco balls
Of course, a cleverly placed and properly lit disco ball will make all the difference whether you’re throwing a party, hosting an event, or you simply want to add some sparkle to your room. For glamour, sophistication, and securely linked disco balls, you should certainly take all of these steps into account.


